Taco Client vs Statesman Environment Variables
For SSO, the client should only need theOPENTACO_AUTH_ISSUER, OPENTACO_AUTH_CLIENT_ID and OPENTACO_AUTH_CLIENT_SECRET environment variables to function. These could be set and exported in .zprofile, .bashrc, etc
The secret and the URL environment variables mentioned below need to be set in the server only.
Auth0
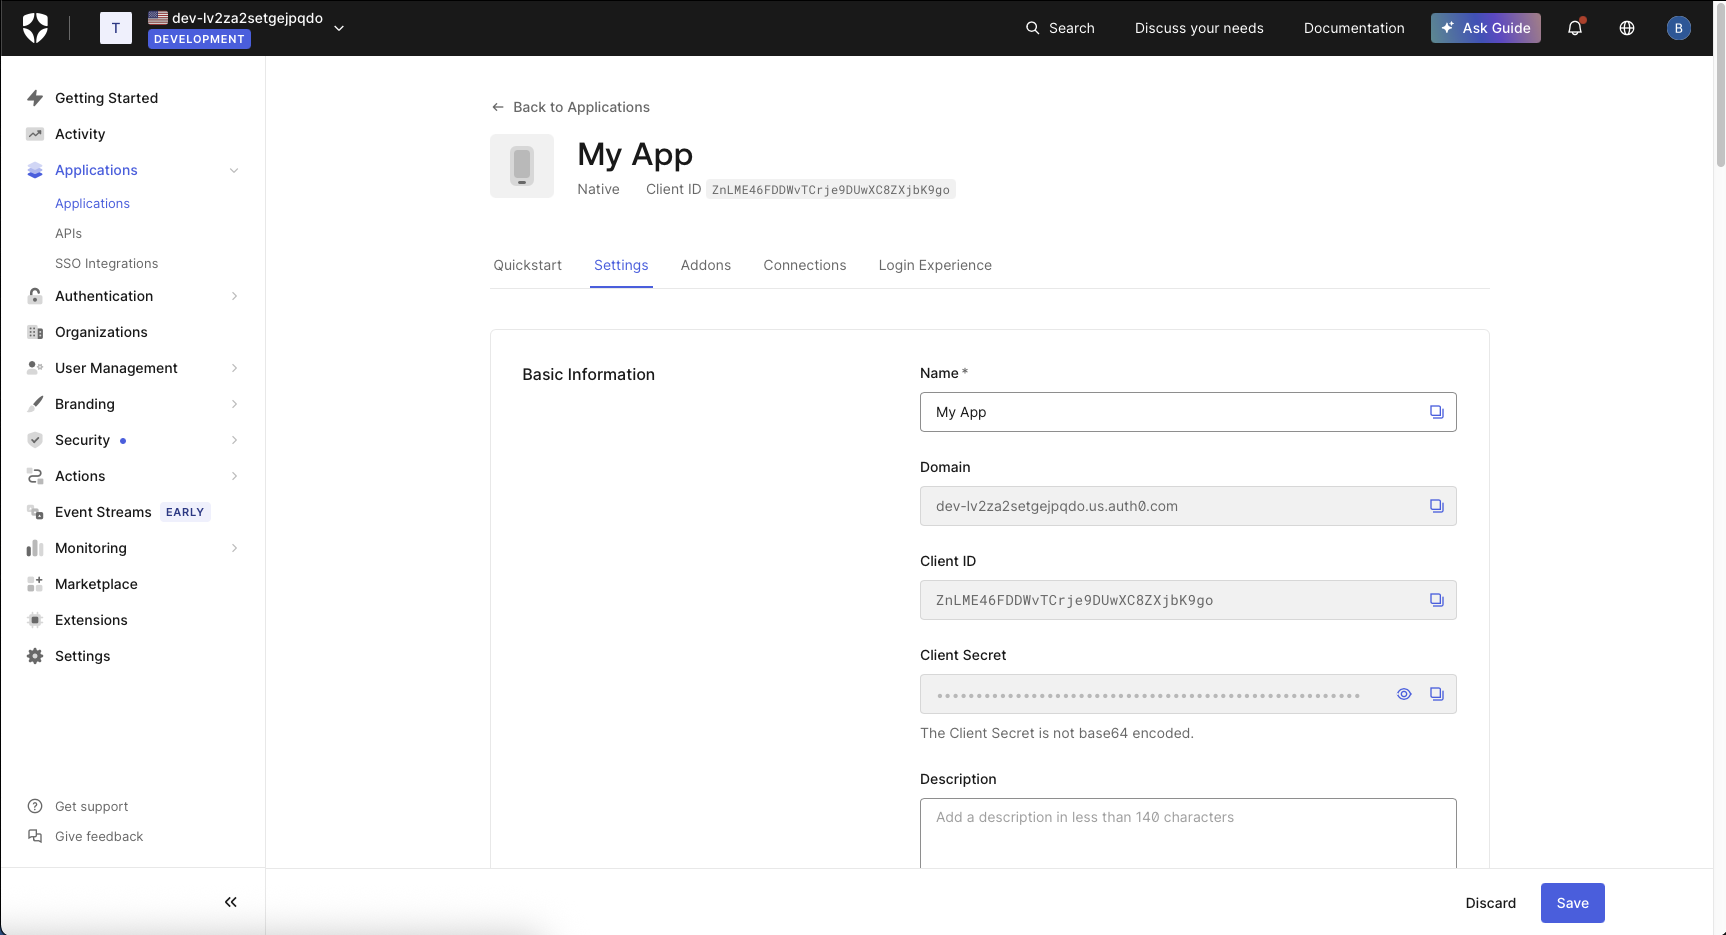
Auth0 is currently our most tested integration. As a first step go to their site and signup: https://auth0.com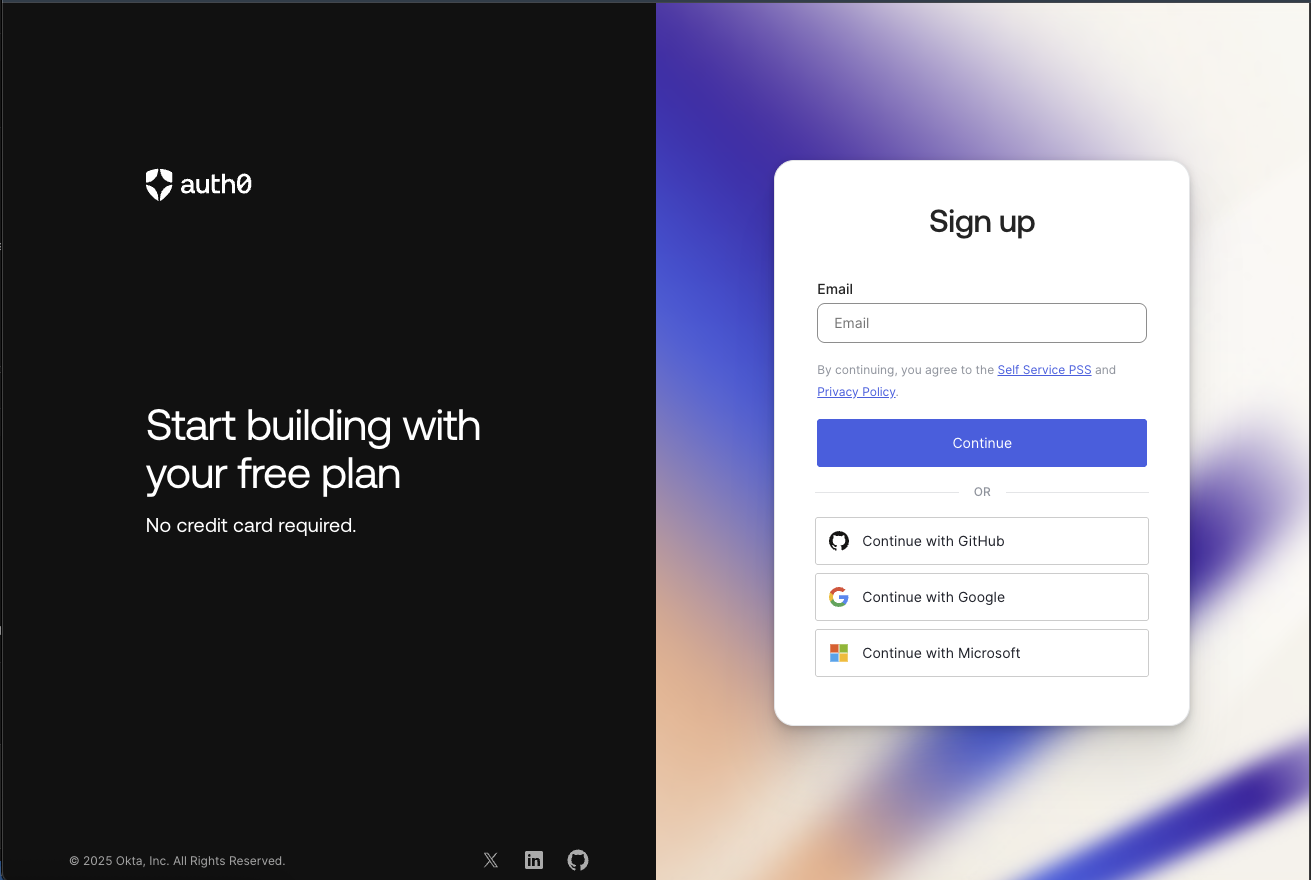
OPENTACO_AUTH_ISSUER to be https://Your-Auth0-domain.url/ (warning: trailing slash is IMPORTANT!)We put the Auth0 client ID here
OPENTACO_AUTH_CLIENT_ID We put the Auth0 client secret
OPENTACO_AUTH_CLIENT_SECRETFor Auth0 we can configure our URLs like so:
OPENTACO_AUTH_AUTH_URL="https://Your-Auth0-domain.url/authorize" OPENTACO_AUTH_TOKEN_URL="https://Your-Auth0-domain.url/oauth/token" Okta
First Sign up for Okta

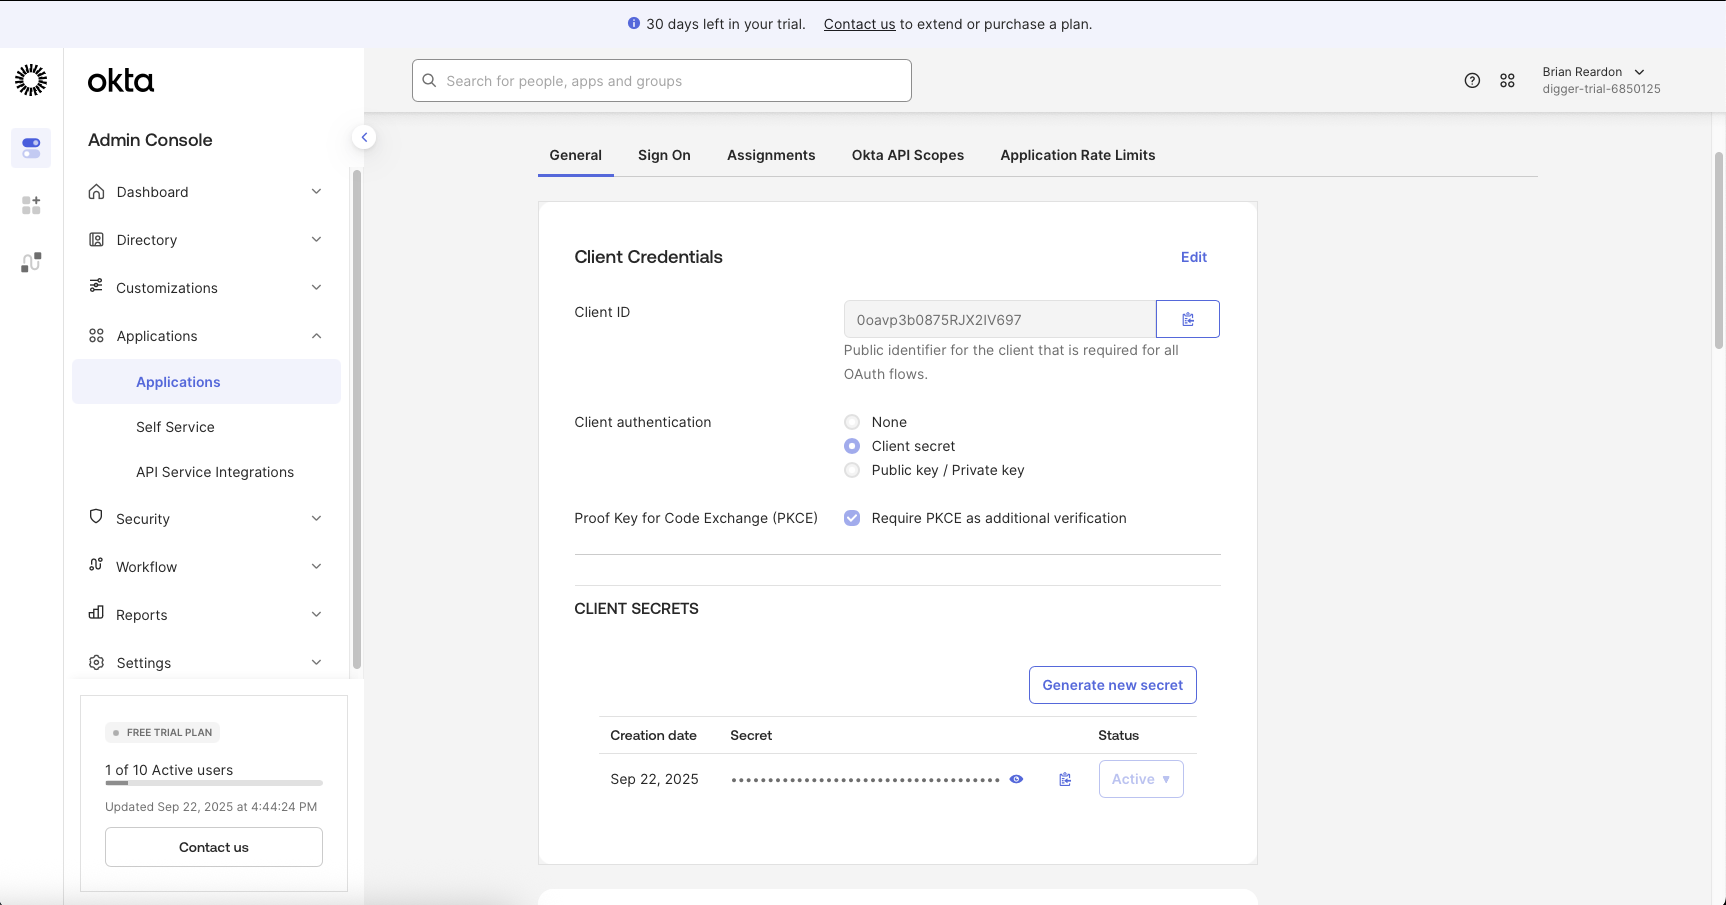
OPENTACO_AUTH_CLIENT_SECRET
OPENTACO_AUTH_ISSUER="https://trial-6850125.okta.com/oauth2/default"
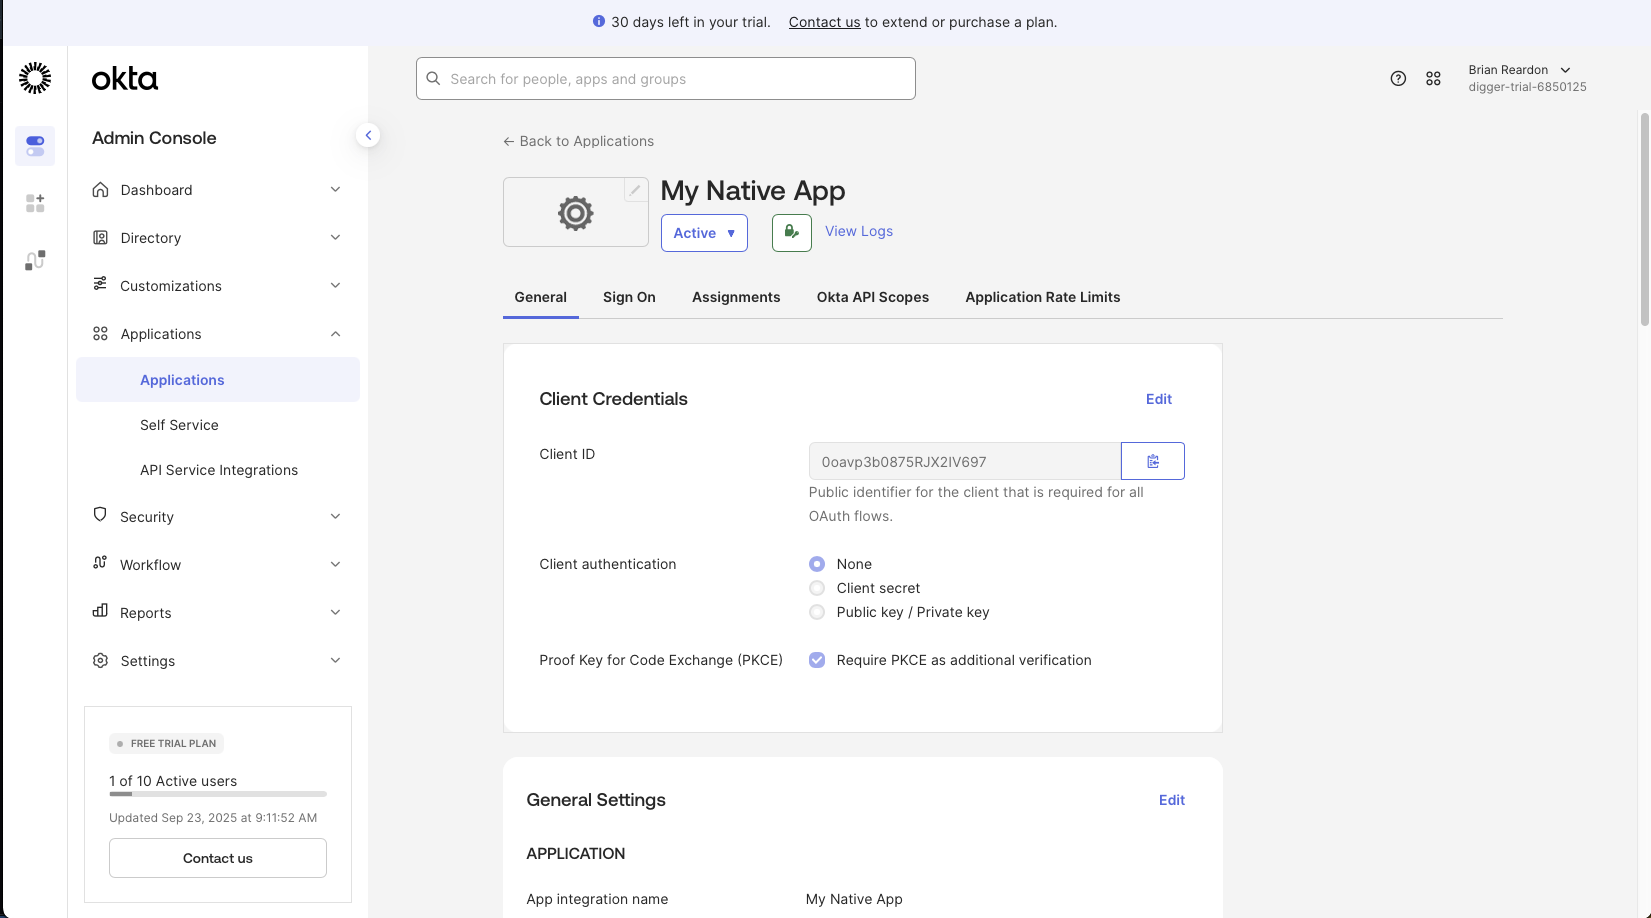
We take the client id from the general tab, which in this case was 0oavp3b0875RJX2IV697
OPENTACO_AUTH_CLIENT_ID="0oavp3b0875RJX2IV697"
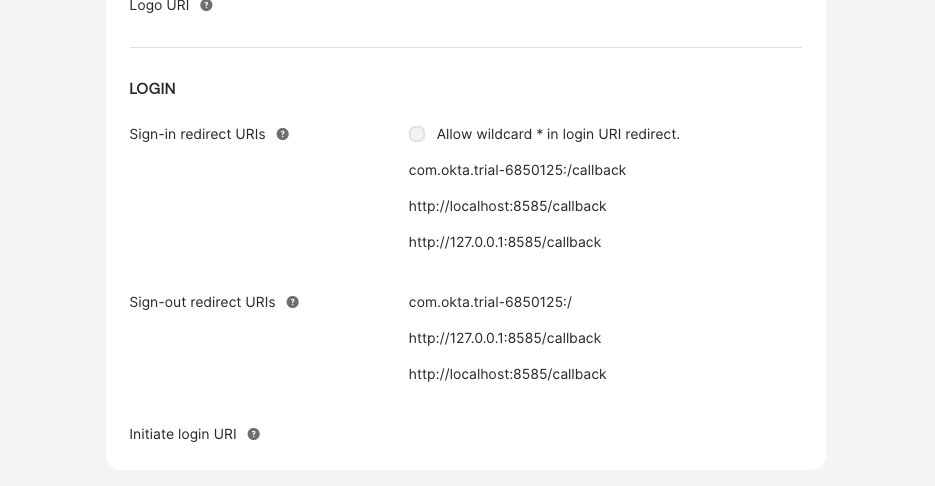
Then our auth url and our token url are [our domain]/oauth2/default/v1/authorize or token, like so:
OPENTACO_AUTH_AUTH_URL="https://trial-6850125.okta.com/oauth2/default/v1/authorize"
OPENTACO_AUTH_TOKEN_URL="https://trial-6850125.okta.com/oauth2/default/v1/token"
and we copied our OPENTACO_AUTH_CLIENT_SECRET from the client credentials screen earlier.
High Availability Configuration
There are several configuration options to enable OpenTaco to be deployed in a highly available environment. These are all default off for simplicity.JWT Signing Keys
You can set a common JWT signing key for every instance.OPENTACO_TOKENS_PRIVATE_KEY_PEM_PATH - this is the path to your .pem
OPENTACO_TOKENS_KID - this is the key id to support rotation
some example values in your .env:
OAuth State Encryption
OPENTACO_OAUTH_STATE_KEY is meant to be an AES-256 key for encrypting OAuth sessions state shared across all instances.
Base URL
OPENTACO_PUBLIC_BASE_URL is meant to be a configurable public URL for OAuth redirects that overrides the request host header. This is useful if you have a load balanced set of instances.